


While I absolutely love reading bridal beauty tutorials, I’ve never been sure how to recreate them using products that meet my (admittedly stringent) requirements. I’m an ardent believer that what we put on our bodies is as important as what we put in our bodies, and our makeup touches our faces all day, every single day (many doctors, in fact, insist that women throw out their skin and makeup products when they’re first diagnosed with breast cancer, because the parabens and phthalates found in them can mimic hormones in the body).
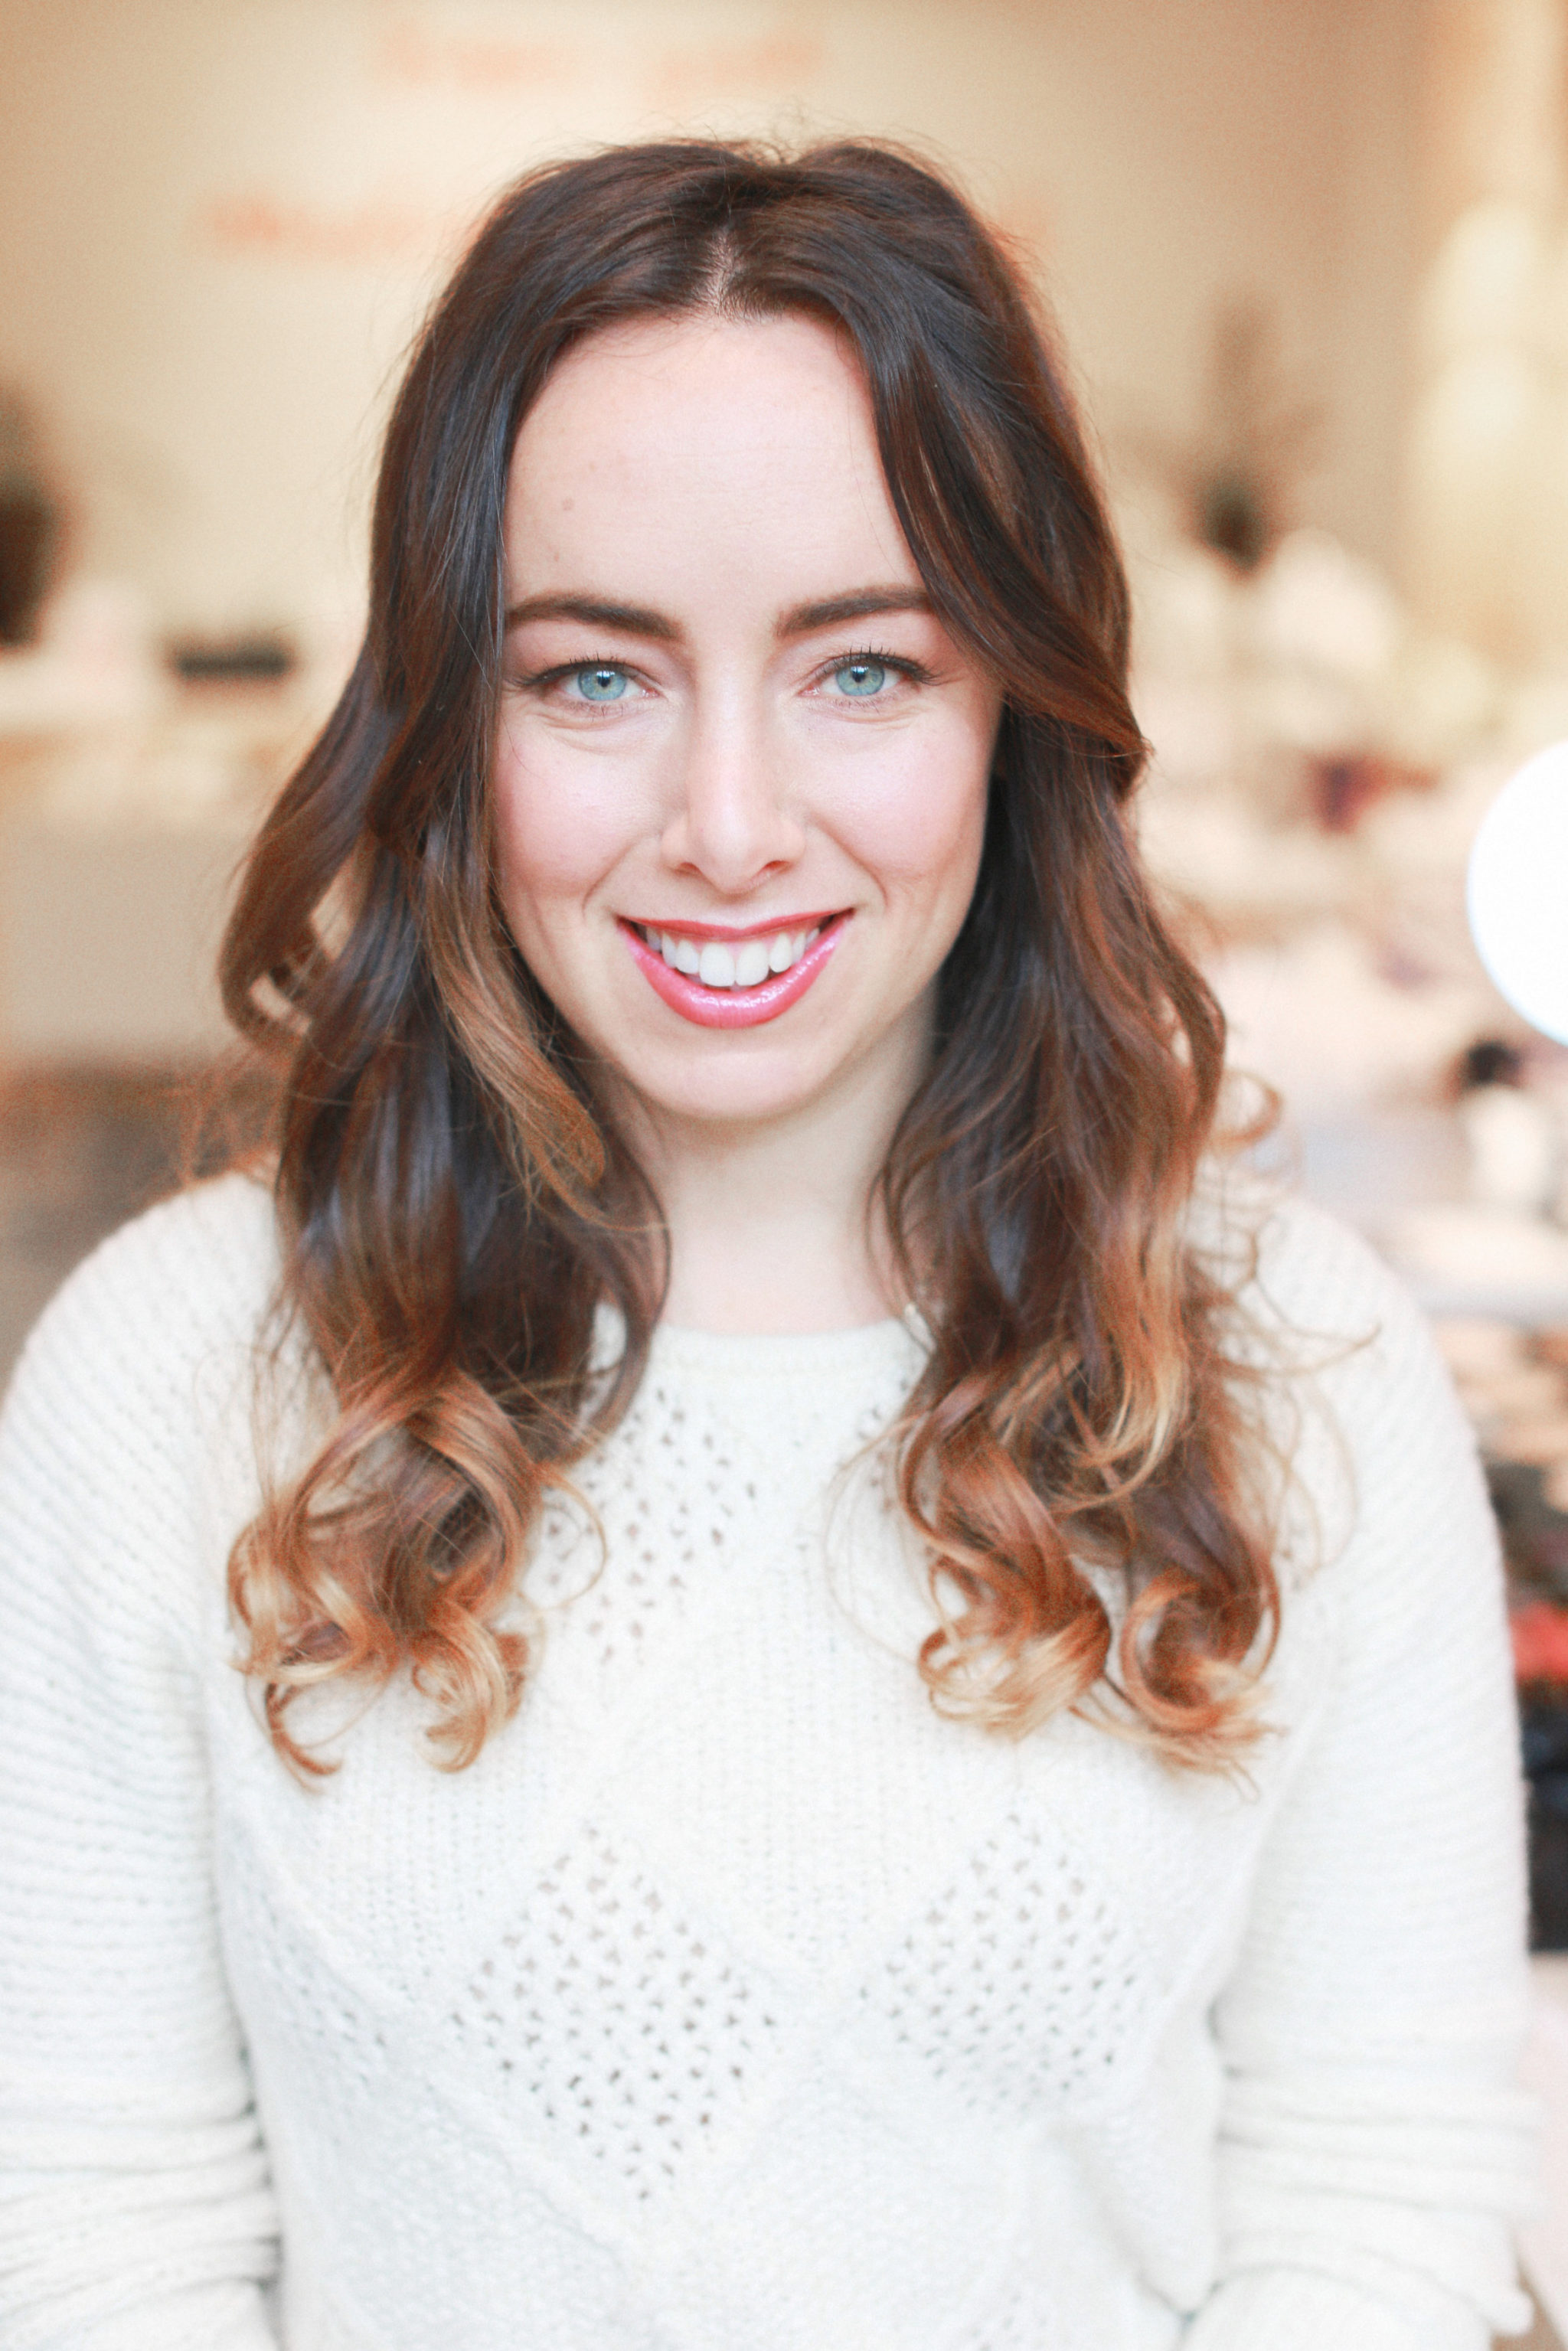
The rub? I’m absolutely unwilling to compromise quality. I want my makeup to stay on, to feel beautiful, to have brilliant colors, amazing coverage, and lengthy staying power. As part of my ongoing partnership with Style Me Pretty, I reached out to Natalie Olson, the green makeup artist and general beauty genius from Credo Beauty in SF. She agreed to give me some pointers for organic bridal makeup that I could feel good about – and look great wearing. “Bridal makeup should feel glowy and gorgeous, like the brightest, most beautiful version of yourself,” Natalie says. (Psst: her tips, and the brands she recommends, work just as well for non-bridal makeup – I’ve fully incorporated the Kjaer Weis foundation and blush into my daily routine)
Here, she shows you how it’s done.
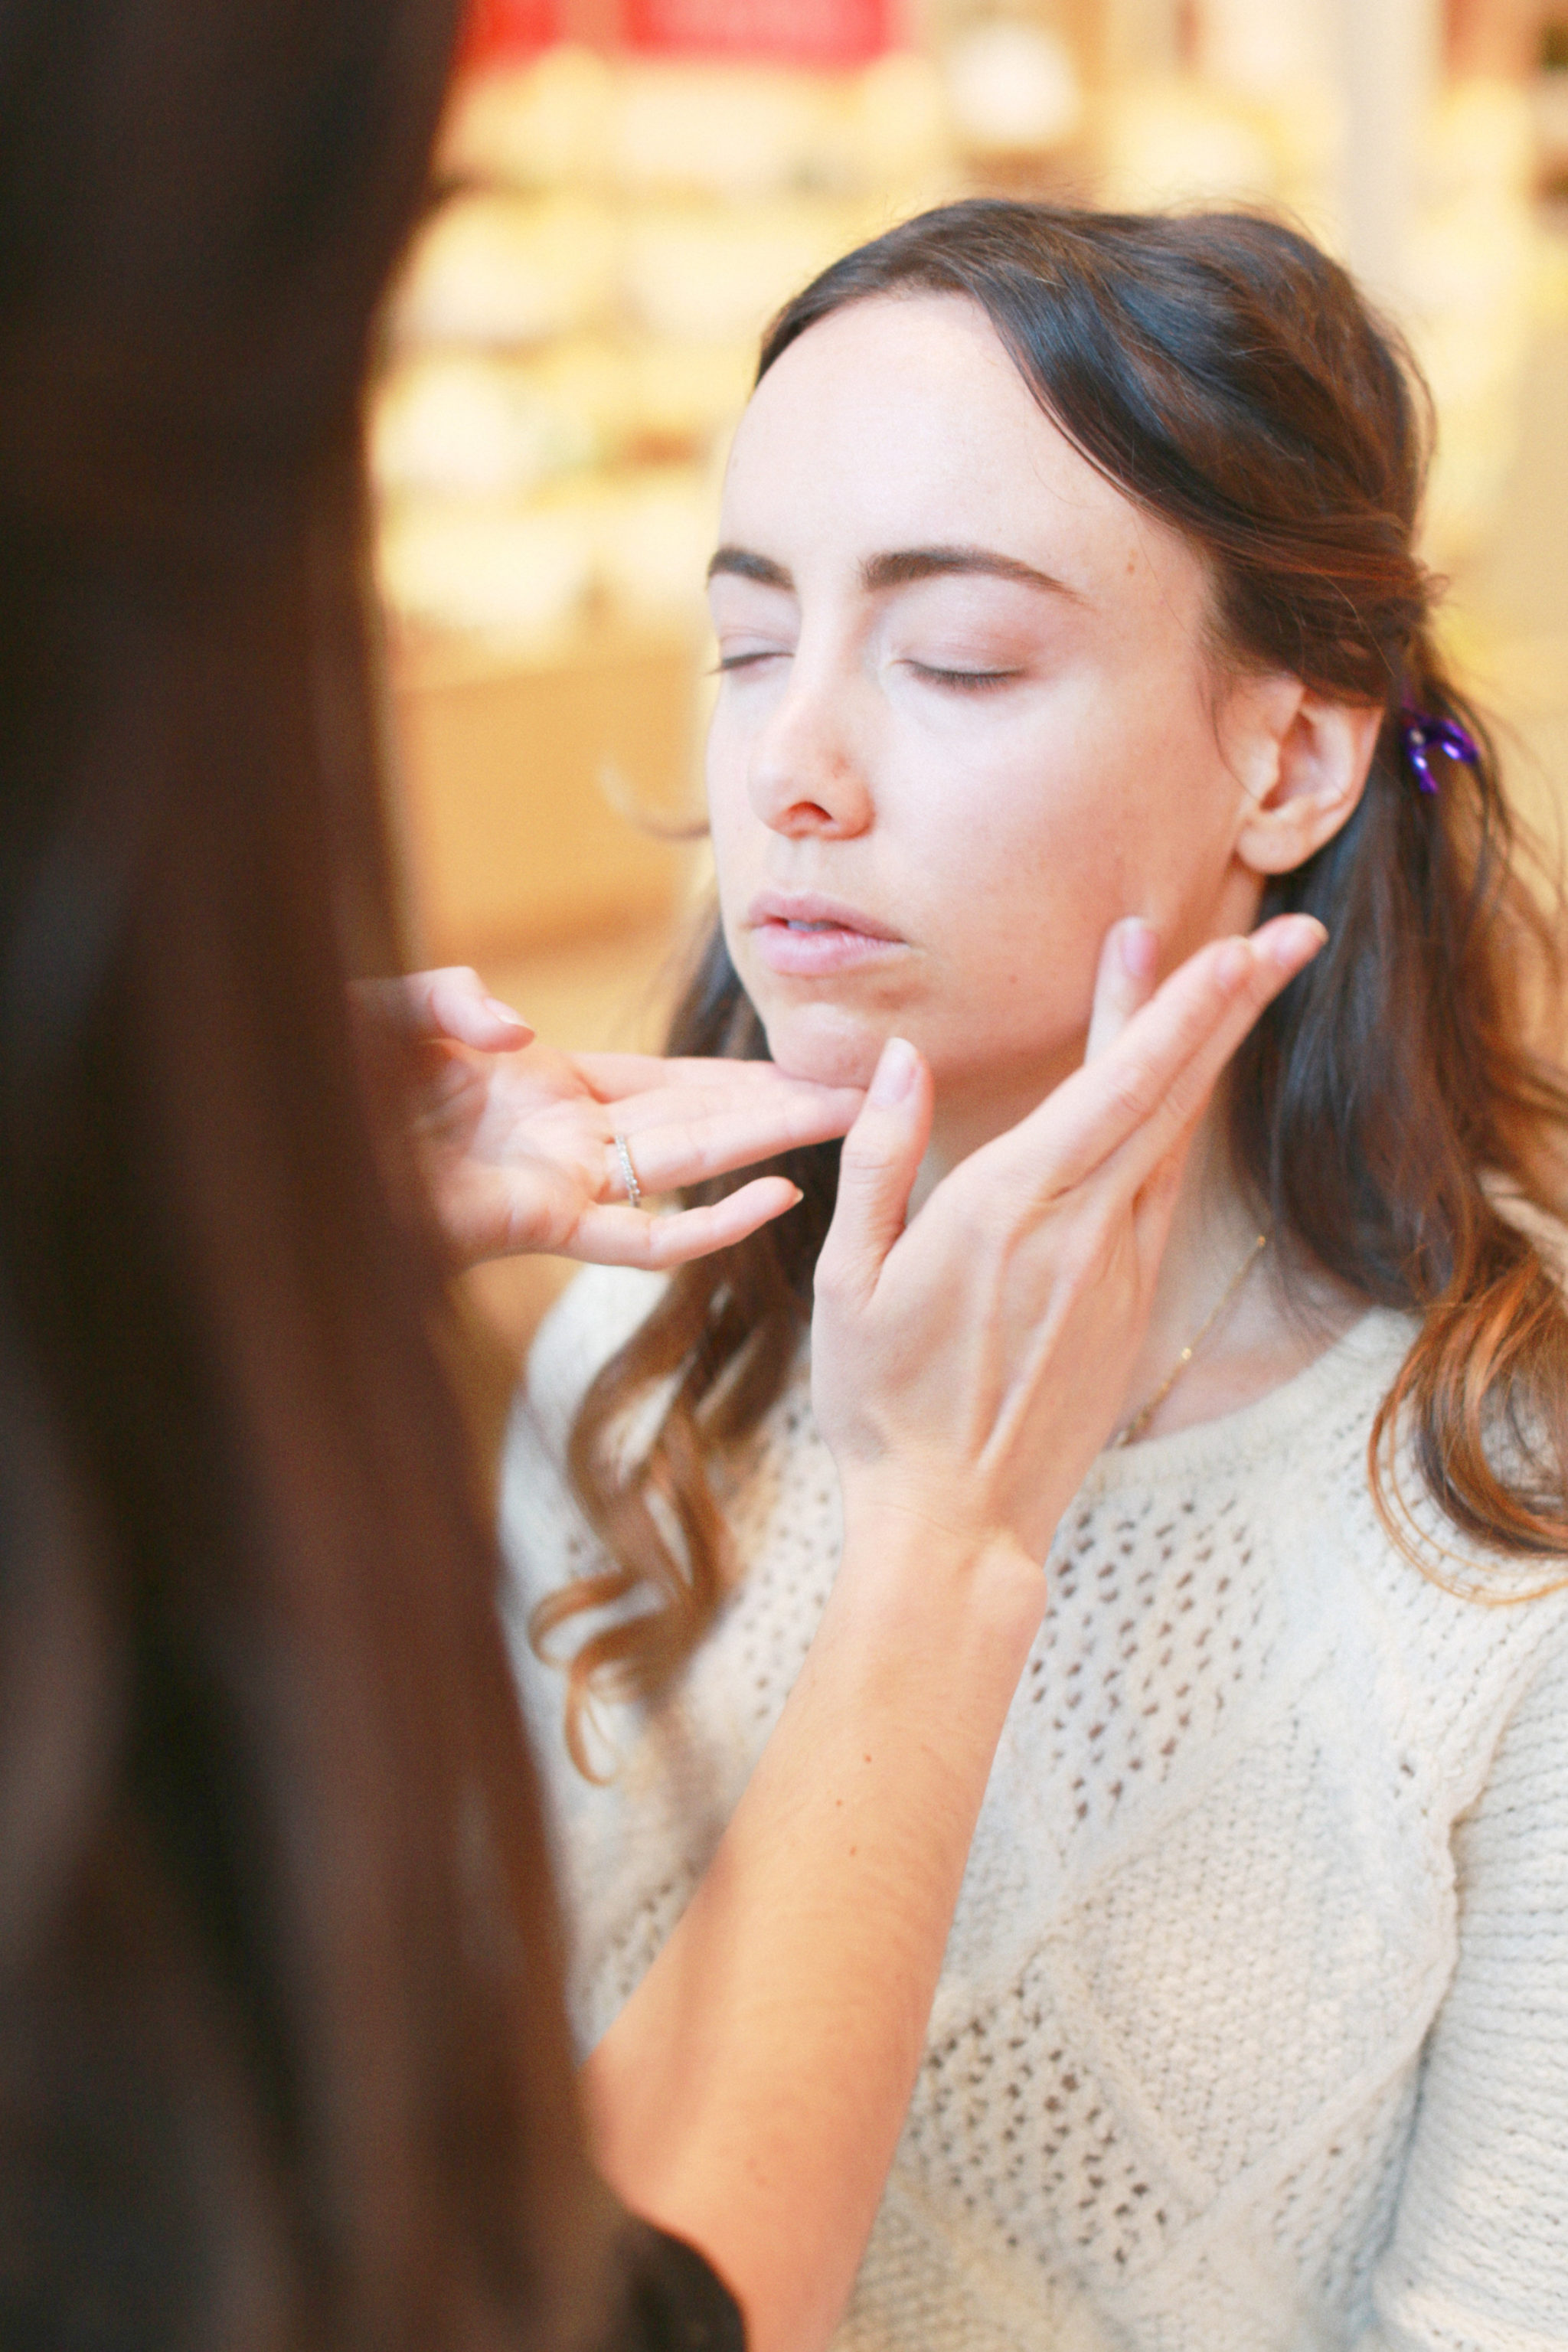
1. Use your fingers to rub a primer into your face, like you’re applying lotion. Natalie loves Vapor Soft Focus Stratus Instant Skin Perfect, which has yellow tones that minimize red undertones and minimizes some of the red undertones, and fills in your pores to get you a nice photo finish. This is extra important for wedding makeup because you need it to last all day. Smooth it all over the face and down the neck as well.
2. Smooth primer all over your eyelid, so that the colors will appear more true and your eye makeup will stay on all day and night.
3. Press Charmed by Kjaer Weis, a warm, light beige, just on the lid, working it out to the crease. Use your finger to soften the edges.
4. Dust Kjaer Weis Cloud 9, a light shimmery shade, along the brow bone.
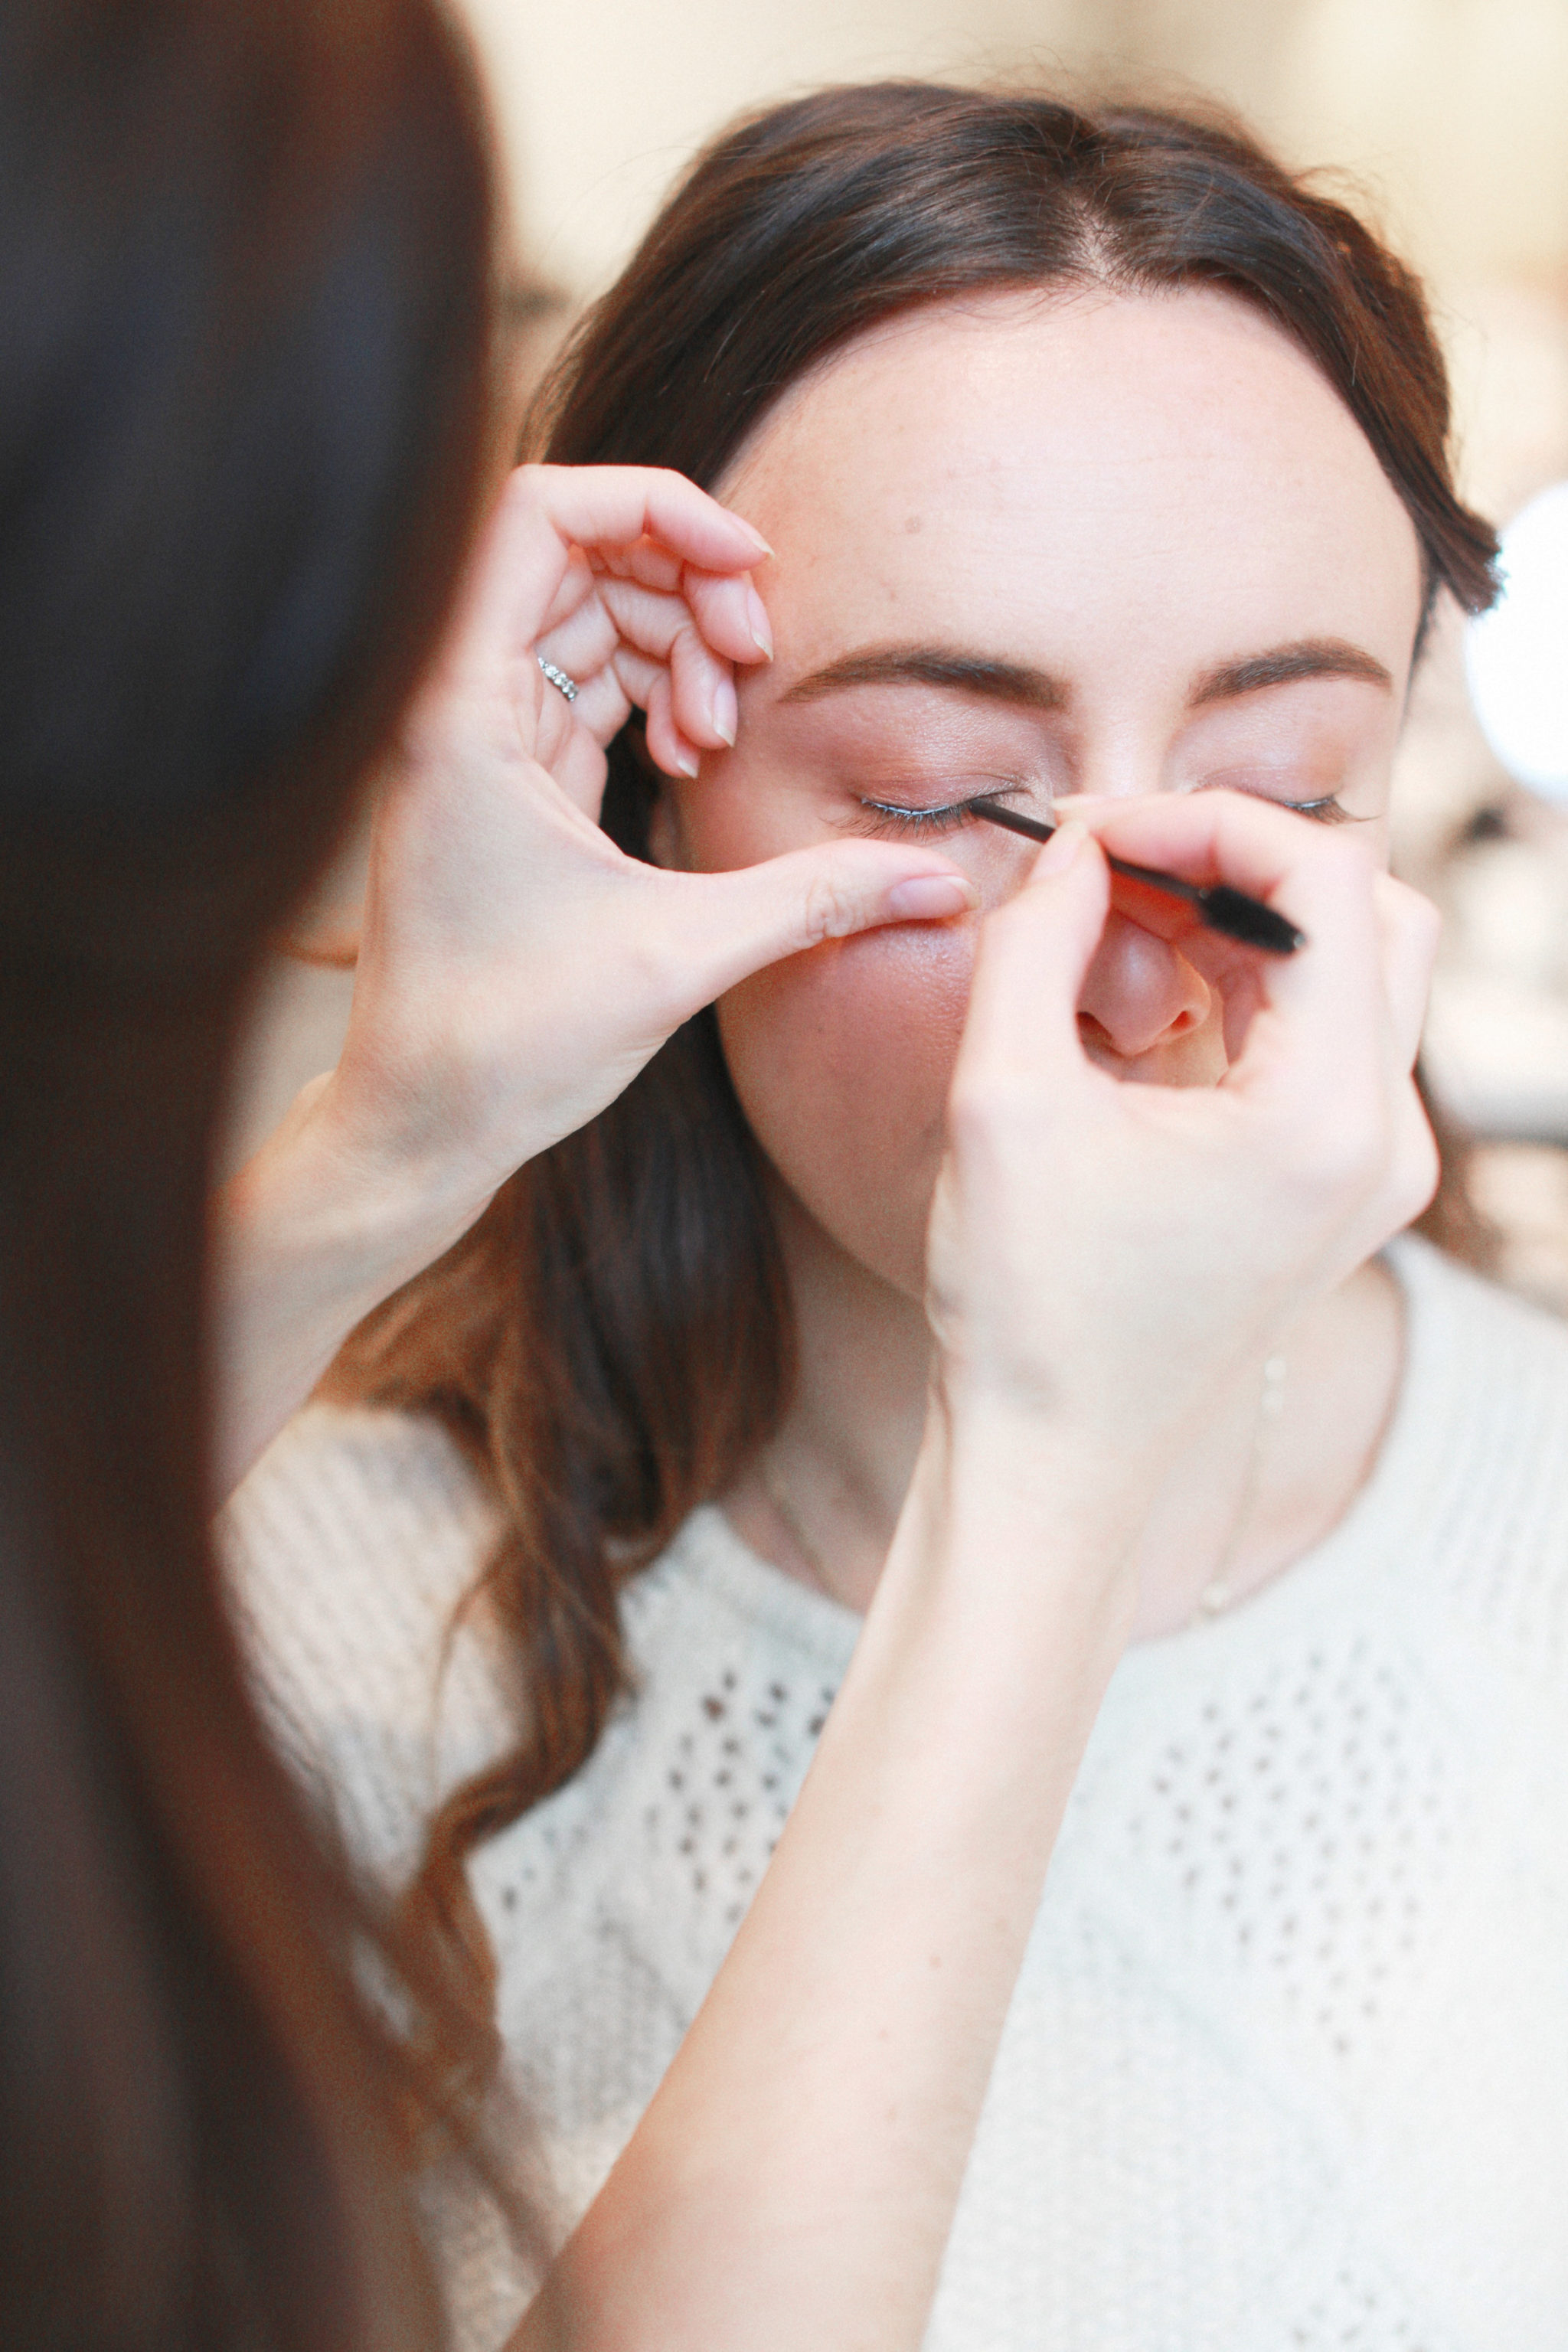
5. Using a thin angled brush, press ecobrow in the shade “Liz” a rich dark brown, right along the upper lashline. This won’t look like you’re wearing eyeliner, but it’ll add a really natural, beautiful definition to your eyes and thicken your lashes. While this ecobrow product is technically designed for brows, Natalie uses it as an eyeliner, because there aren’t any good organic gel eyeliners on the market right now, and it works beautifully for the purpose.
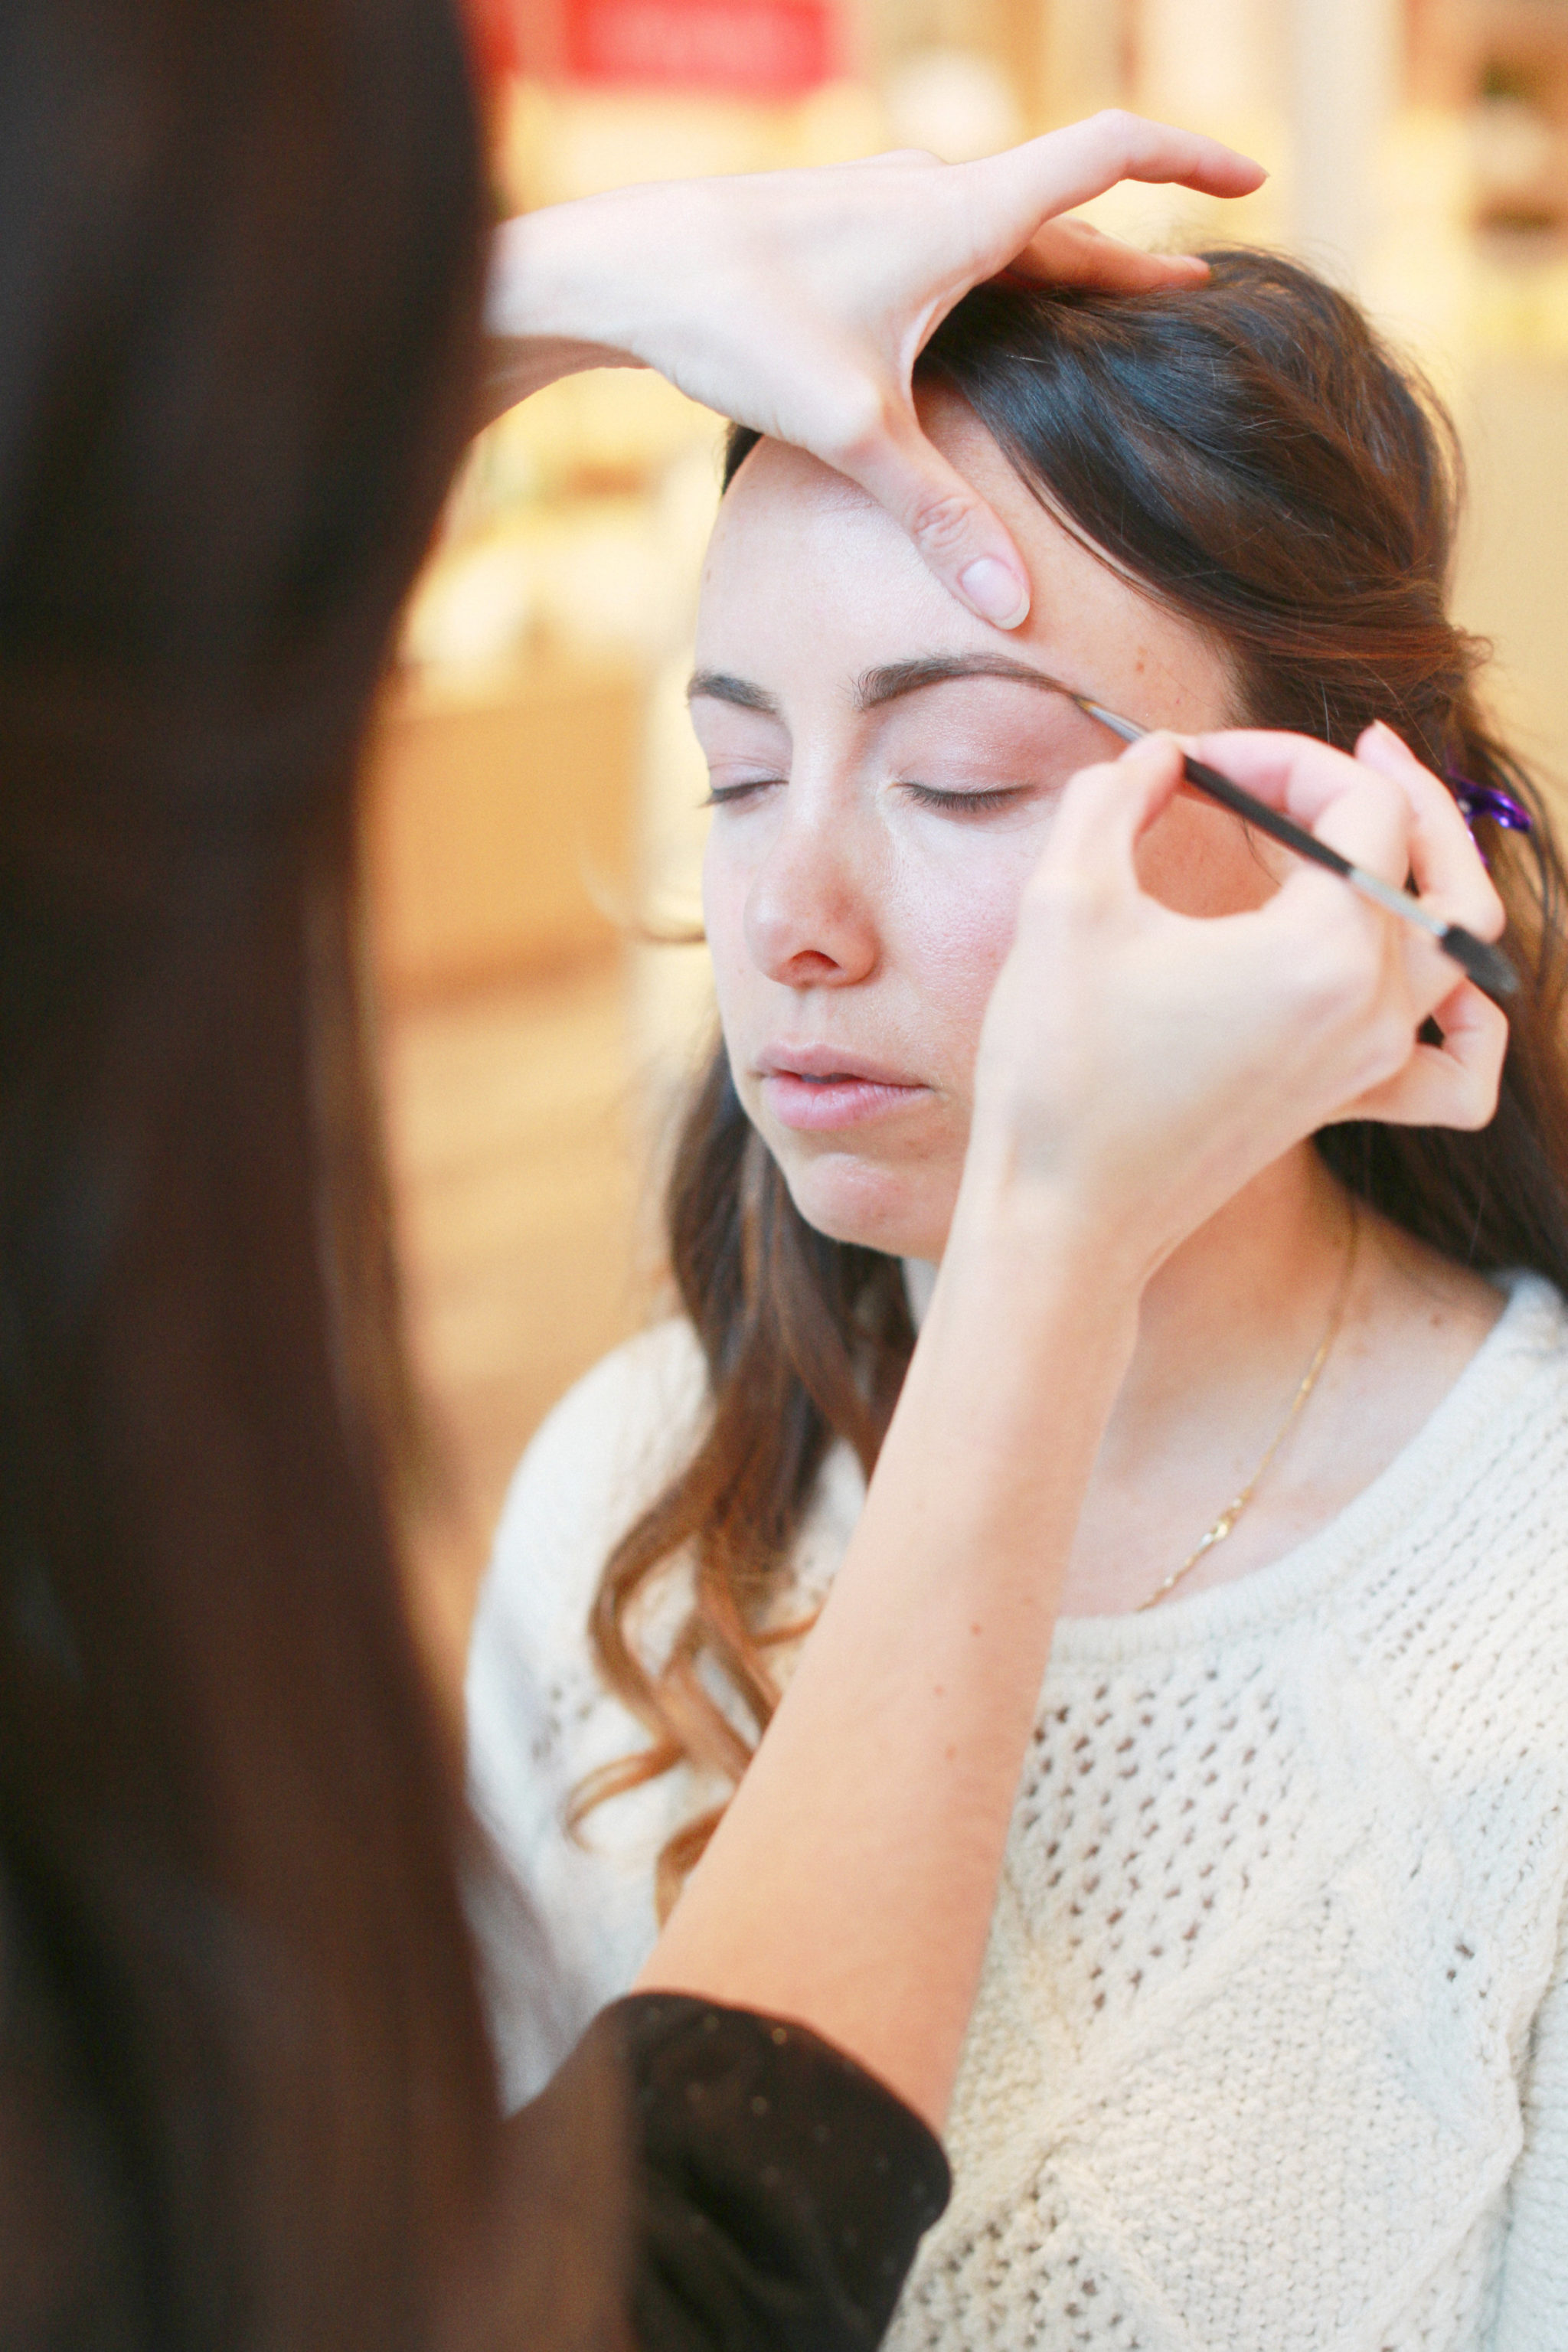
6. Use ecobrow “Penelope” on a stiff, angled brush to fill in the brows. Natalie recommends a gel liner over a pencil, because it’s easier to control, and when you brush it out, it looks softer and less harsh than pencil liner. Follow the natural shape of your brows, using short, feathery strokes, then brush it out with a spoolie brush. Be sure to do this step before foundation – if you do it after, you might end up with spoolie marks in your foundation.
7. Take a thin eyeliner brush, and work Kjaer Weis in Grace, a light mocha color, onto the lid, just above the liner. This will accent the liner and adds depth and definition.
8. You want to use your ring finger for this next step, because it’s your weakest and won’t pull and tug on your skin as such. Tap it into the foundation – Natalie likes Kjaer Weis’s cream foundations, which are full coverage and flawless – to warm it up and then sweep it onto the face. Because many natural makeups are oil based, it’s better to use your fingers to apply them, because the heat from your skin will warm up the oils in the product and make it blend seamlessly with your skin. Natalie recommends using a very full coverage foundation and then blending it in intensely, so you get all the coverage you need for photos, but with a very natural finish. She also recommends you avoid SPF on your wedding day unless you’re in the direct sun in the middle of the afternoon, since many natural sunscreens have zinc in them, which causes flashback, making your skin appear really white in photos. If you do need to use sunscreen, avoid ones with zinc.
9. Apply concealer – Natalie uses RMS Uncoverup #22 – under your eyes and anywhere else you have residual redness or blemishes. Natalie uses her ring finger to tap it on until it melts into the skin.
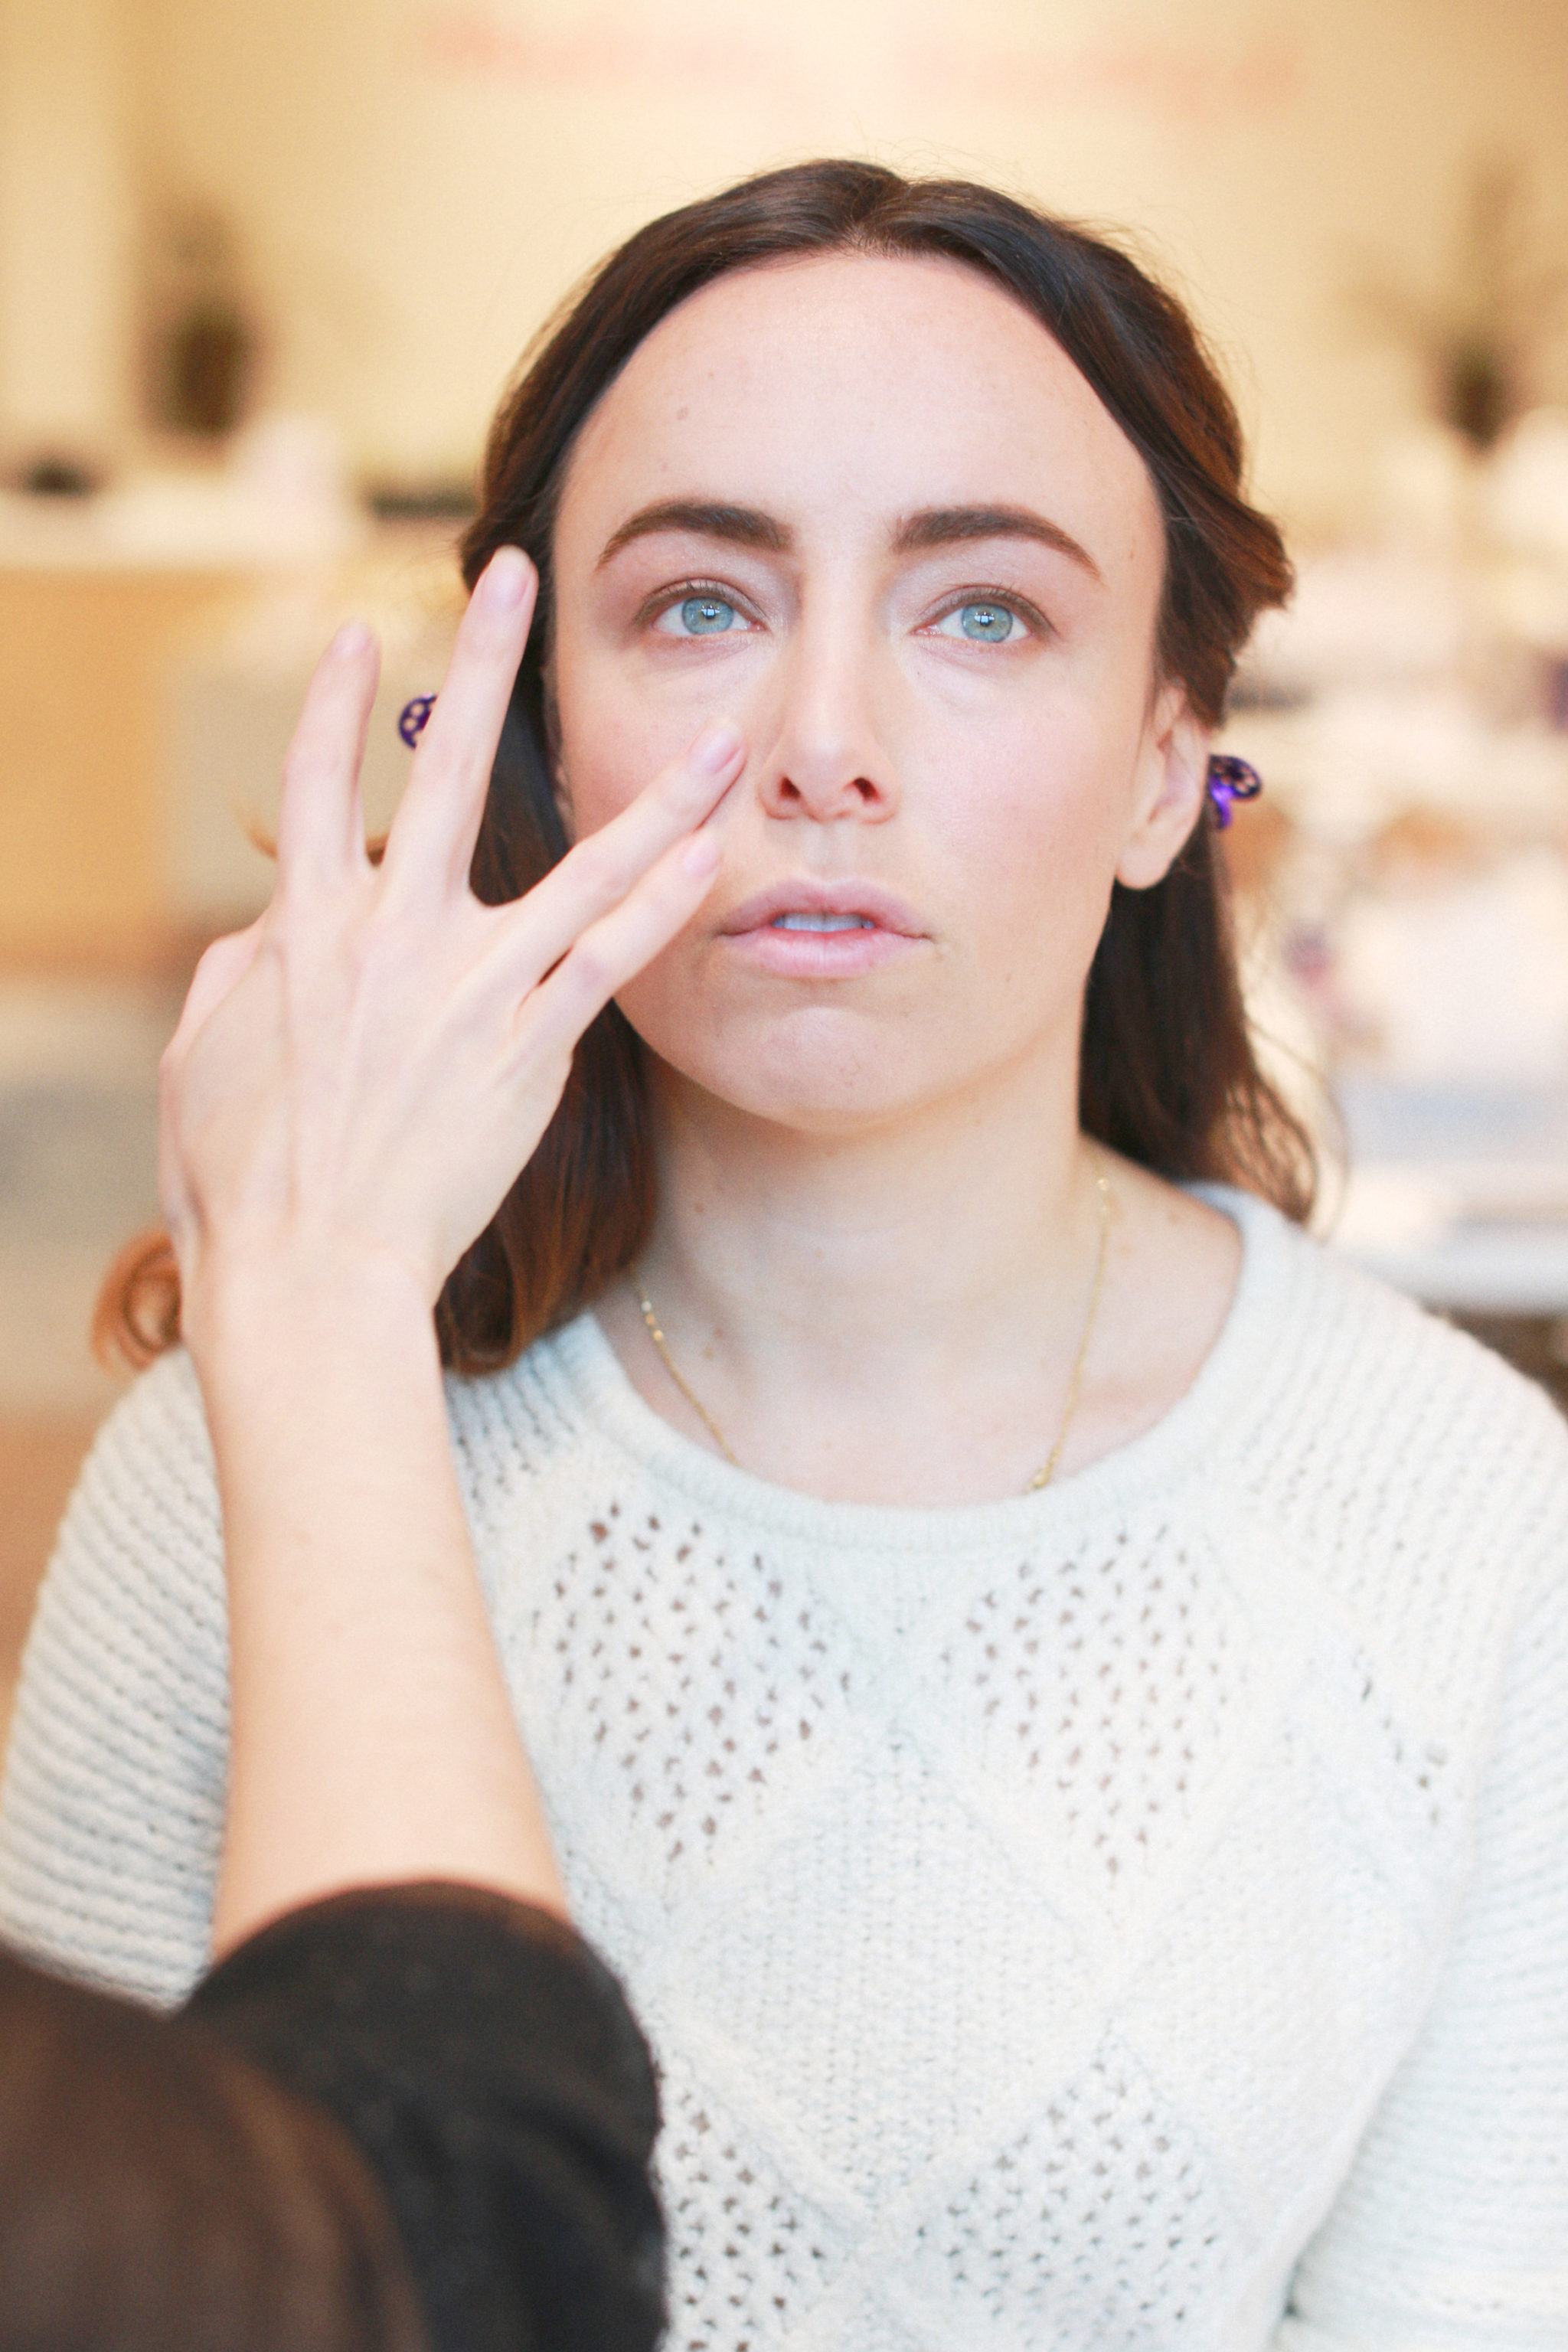
10. Use a thin brush to line under the eyes with Kjaer Weis Wisdom, which is a silver/taupe color.
11. Add a touch of your highlight color from your brow bone – Natalie used Kjaer Weis Cloud 9 – to the inner corner of your eyes to brighten them. This is one of the things Natalie recommends keeping in your makeup bag to touch up throughout the day, as it brightens your face and makes it glow.
12. Use a cotton round to press loose powder into skin (Natalie likes RMS Un-powder). You just want to gently press it on top of the foundation. This is good to do throughout the day to avoid shine, especially right before a photography session.
13. Rub a bit of W3LL people stick bronzer onto the back of your hand so that it warms up and becomes easier to work with, then use your fingers to gently sweep it in a big C, from your forehead to under your cheekbone. Use your fingers to lightly run it along your hairline as well. Using what’s left on your fingers, run a little bit down the sides of your nose to give it a bit of shape.

14. For highlighter, you want to do a little C, from the under your eyebrow to the top of your cheekbone. Natalie uses her finger to apply RMS Living Luminizer in this shape. Highlighter is especially important for photos, as it will make you look glowy, with features that really pop.
15. Next – blush. Natalie likes to use a pinky-peachy shade – her favorite for brides is Suntouched by Kjaer Weis. Rub it onto the apples of your cheek, using your fingers to blend it out for a soft bridal glow.
16. Take a moment to use your fingers to blend blend blend – make sure the bronzer, blush and foundation are very well blended and look seamless.
17. Natalie recommends adding a few fake lashes for brides, as they make your eyes stand out quite a bit in the photos. “It’s just like if you were naturally born with bigger lashes,” she says. To apply lashes, she recommends letting the glue get slightly dry and tacky, and then snipping a strip of lashes in half, or even thirds. Use a q-tip to apply a thin strip of the tacky glue to the lash, then gently place it on the outer half of the lash line, using tweezers to squeeze them against your natural lashes. Do your lashes before applying mascara, as the coat of mascara over will blend the fake lashes with your natural ones.
18. Let the glue dry completely, then apply a few coats of mascara. Natalie likes Kjaer Weis Organic Mascara.
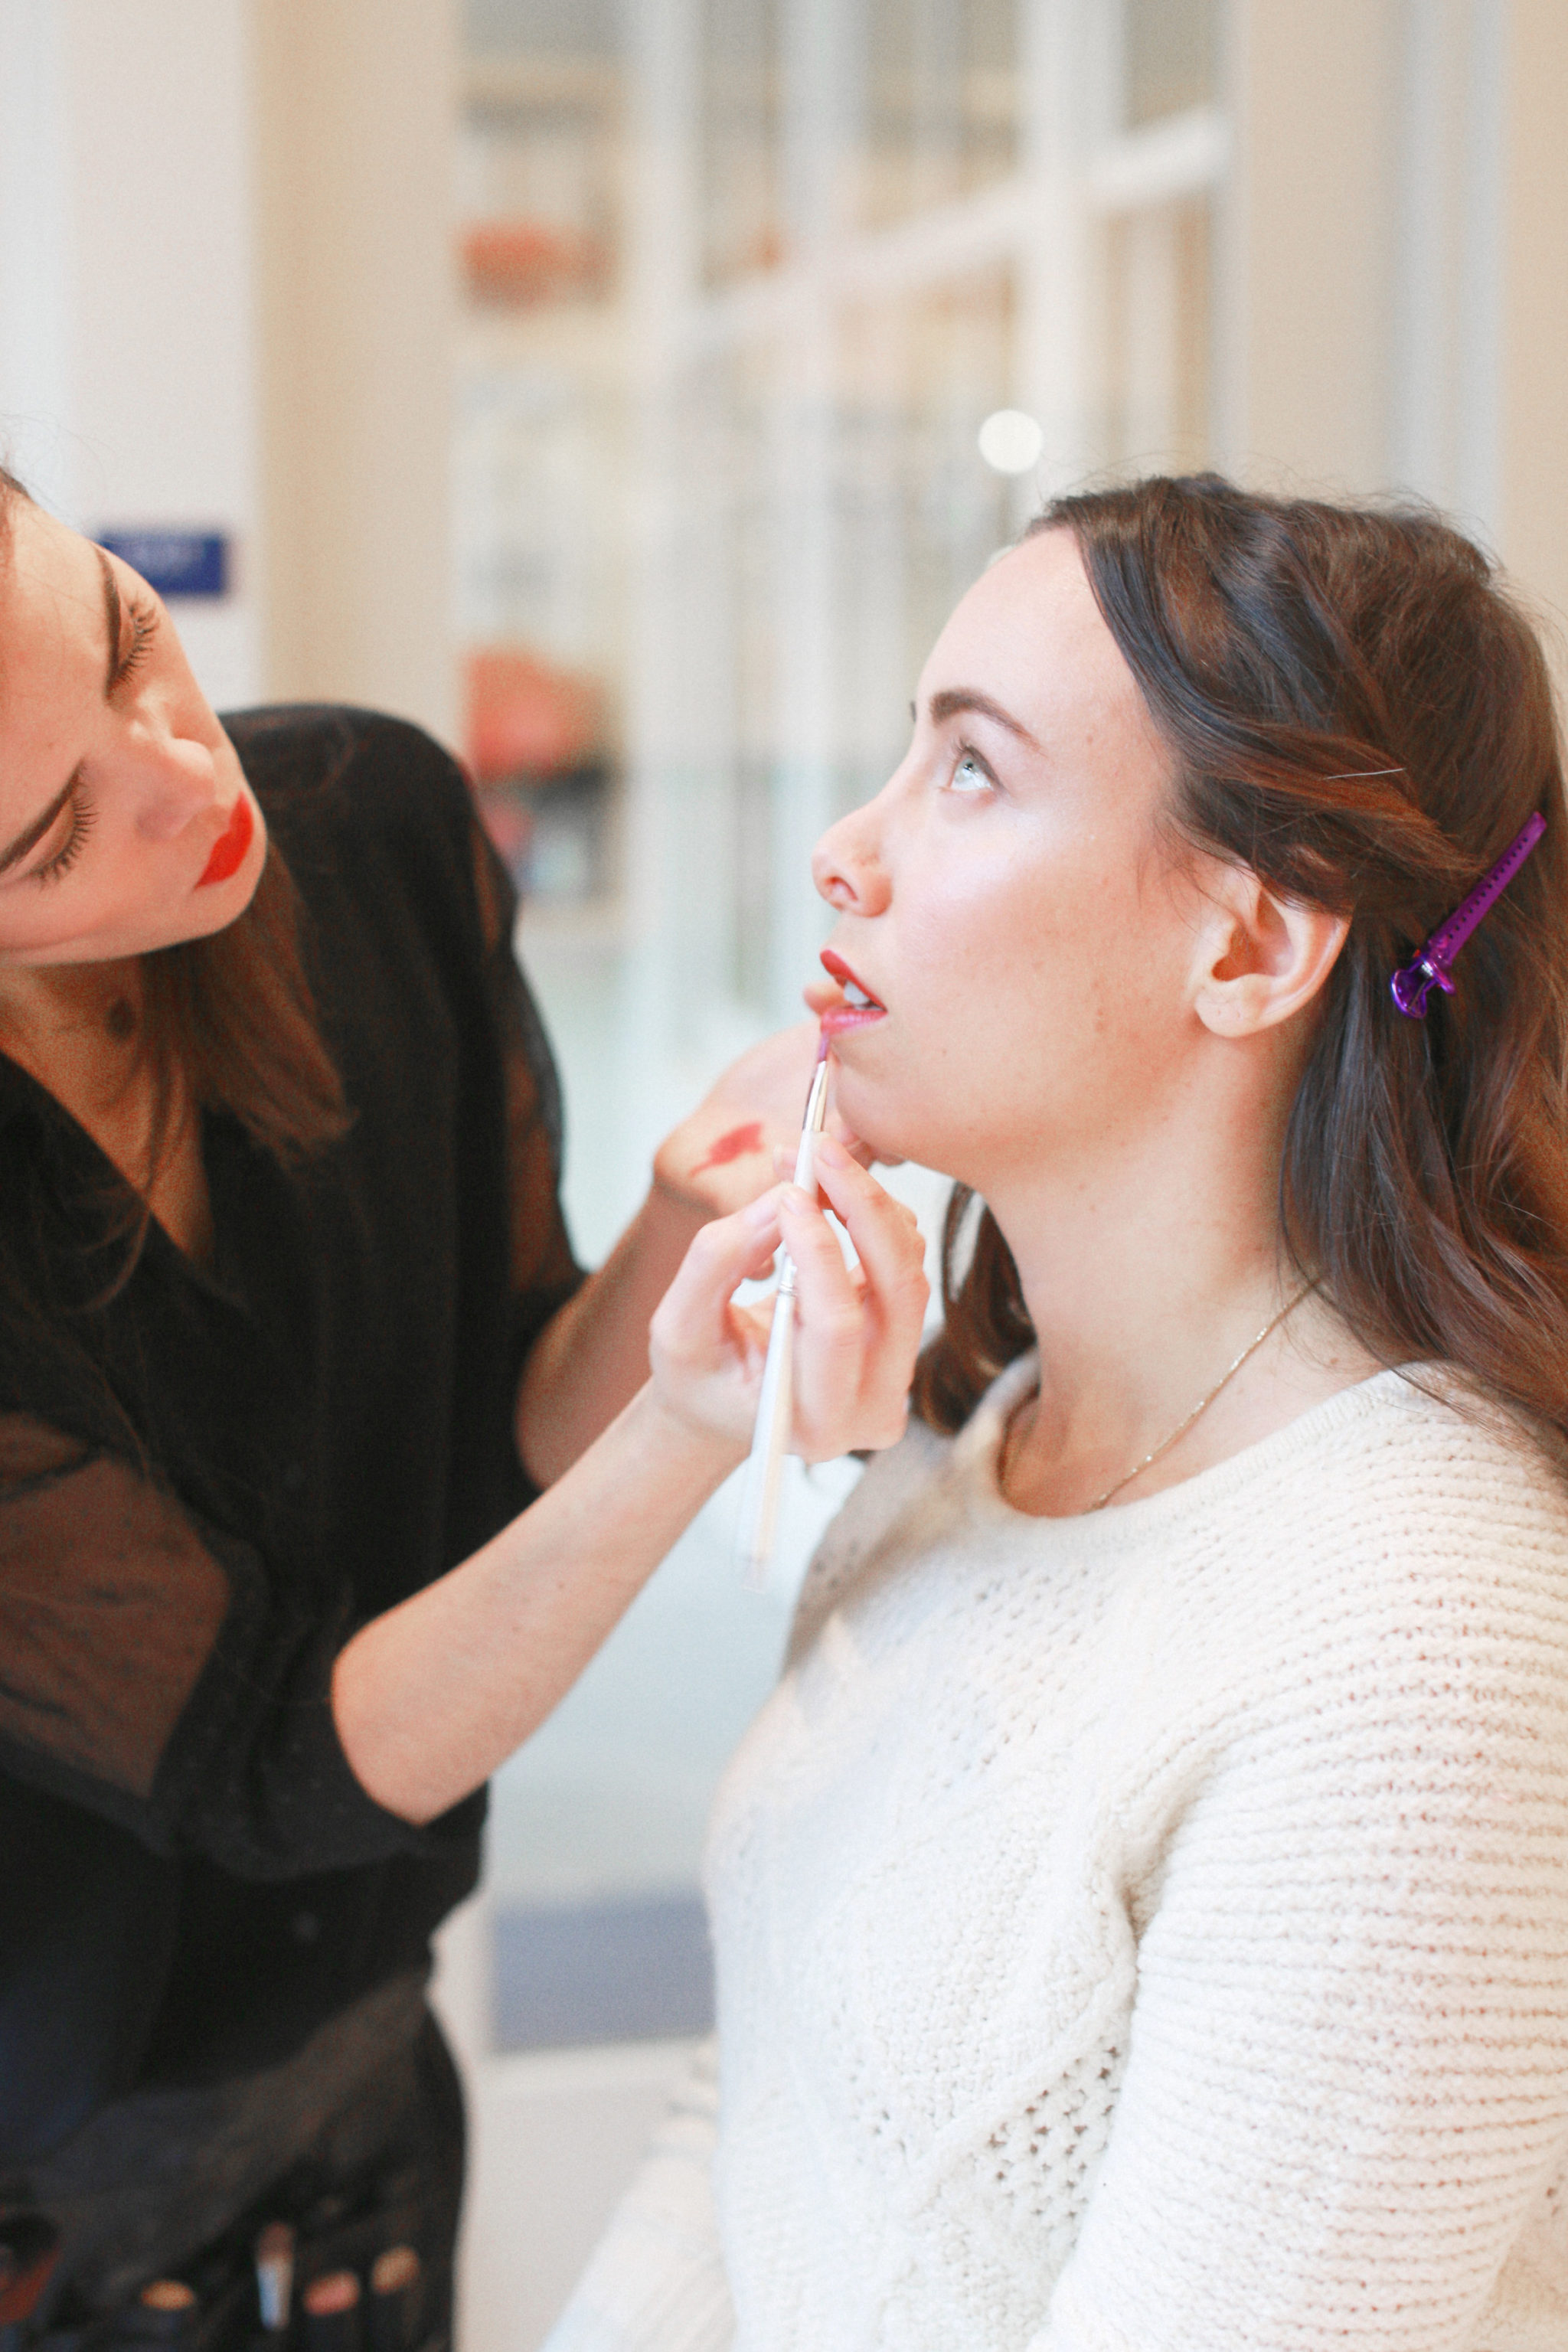
19. Use a lip brush to apply the appropriately named Studio 78 Let’s Get Married #3 to your lips. To get the best shape, start at the top of the cupid’s bow and go down, creating a “X” shape. Then fill in beneath the X and around the rest of your lips. To keep lipstick off your teeth, Natalie recommends sticking your finger in your mouth, then pulling it out. Any residual lipstick will end up on your finger.
20. Finally, lip gloss! A peachy pink shade will make your lips look fuller and more kissable. Natalie uses Lily Lolo gloss in Whisper.
Thanks so much to Natalie for doing such gorgeous makeup, Credo Beauty for sharing their beautiful space and passion for organic products and Christian + Reinna, the best photographer/videographer couple in the world.


Leave a Reply